DTF (Direct-to-Film) transfer printing has become a favorite for custom t-shirt and fabric printing because it’s fast, flexible, and works on almost any material. If you’re just getting started or looking to improve your workflow, this guide will walk you through the entire DTF transfer process simply and practically.
🧰 What You’ll Need
Before we start, make sure you have the following tools and materials ready:
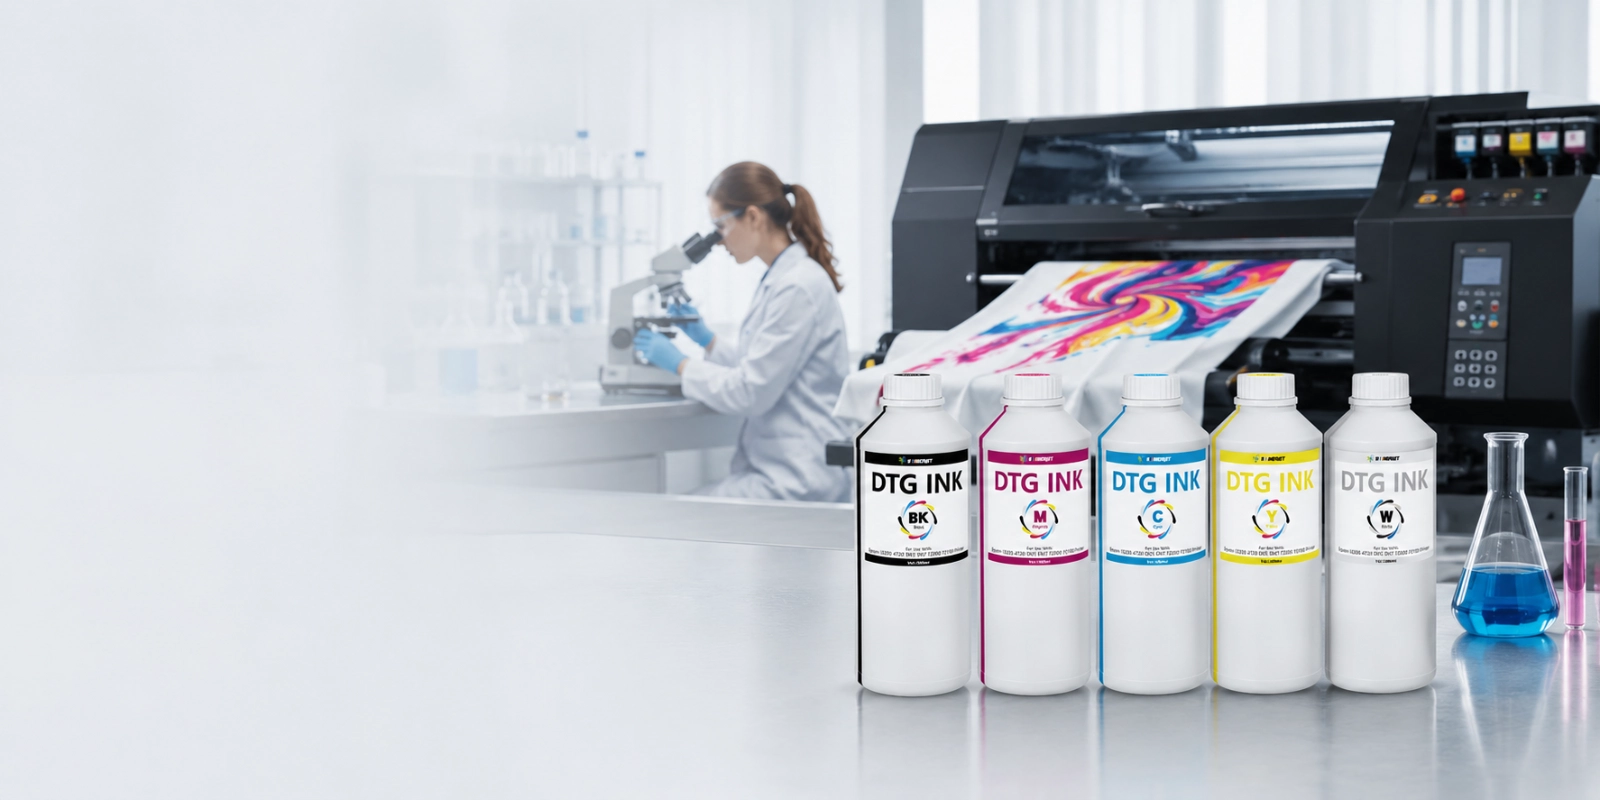
- DTF Printer (compatible with DTF inks)
- DTF Inks (CMYK + white)
- DTF Transfer Film (cold peel or hot peel type)
- DTF Powder (Hot Melt Adhesive)
- Curing Oven or Heat Press (for melting the powder)
- Heat Press Machine (for final transfer to fabric)
👉 Tip: Using reliable supplies like Winnerjet’s low-viscosity DTF ink and DTF film can help avoid print issues and improve final results.

✅ Step-by-Step: How to Make a DTF Transfer
1️⃣ Prepare the Design
Use software like Photoshop or RIP software to create your design. Ensure it’s in CMYK color mode and add a white underbase layer to ensure the colors pop on any fabric.
2️⃣ Print Your Design on DTF Film
Place the DTF film into your printer. Start printing with the colored layers first, followed by the white ink layer on top.
💡 Winnerjet’s DTF ink prints smoothly without clogging, and it sticks well to powder, giving you sharper results.
3️⃣ Apply the DTF Powder
While the ink is still wet, sprinkle DTF powder over the printed design. Shake off the excess powder so it only sticks to the ink.
Pro Tip: Use a tray or automated powder shaker for even coating—especially helpful for bulk production.
4️⃣ Cure the Powder
Heat the film using a curing oven or a heat press (hover mode) at about 120–160°C (250–320°F) for 2–3 minutes until the powder melts and bonds to the ink.
5️⃣ Press the Design onto Fabric
Place the cured film onto your fabric and use a heat press at 150–160°C (300–320°F) for 10–15 seconds. After pressing, wait a few seconds and then peel off the film (hot or cold, depending on your film type).
6️⃣ Optional: Second Press for Durability
Press again with a Teflon sheet for 5–10 seconds to improve wash resistance and give a better finish.

❌ Common Mistakes to Avoid
🚫 Wrong Temperature or Time
Too much heat or not enough pressing time can cause poor transfer or fading.
🚫 Uneven Powder Coating
If powder sticks to areas with no ink, it can ruin your design’s edges.
🚫 Not Using RIP Software
Skipping RIP software can lead to incorrect white ink layering or color separation issues.
🎯 Final Tips for Success
- Store your DTF powder and film in a dry, cool place.
- Run regular printer maintenance to avoid clogged printheads.
- Always test on a sample fabric before full production.
- For better consistency, use matched supplies (e.g., ink + film + powder from the same brand).
🛍️ Need DTF Supplies That Perform Every Time?
Winnerjet offers professional-grade DTF inks, films, and powders trusted by print shops and garment factories worldwide. With low-clog formulas and high color accuracy, our supplies are designed for smooth production and vibrant results.
❓FAQs About Making DTF Transfers
Can I use a regular inkjet printer for DTF?
No, you need a printer that supports DTF ink and a white ink channel. Epson printheads are commonly used.
Do I need to mirror the image before printing?
Yes, always mirror your design before printing it onto the film.
Is DTF better than screen printing?
For small runs or multi-color prints, DTF is faster and more flexible. Screen printing is better for very high volumes.
What fabrics can I use DTF on?
DTF works on cotton, polyester, blends, and even leather or canvas—unlike some other printing methods.
How long do DTF prints last?
With proper pressing and curing, DTF transfers can withstand 40–50 washes without fading or cracking.