Whether you’re setting up a new printer or replacing an old ink cartridge, knowing how to install it correctly is important. Many people feel unsure the first time they attempt this, but the process is actually quite easy once you know what to do.
This article walks you through each step in a simple and clear way. By the end, you’ll feel confident replacing or installing printer cartridges—without needing to call for help!

🖨️ Why Replacing Ink Cartridges Matters
Ink cartridges are essential parts of inkjet printers. When the ink runs out, your printer won’t be able to produce any documents, images, or labels. Changing an empty cartridge promptly ensures your prints stay sharp and your printer remains in good working condition.
🔧 What You’ll Need
Before you begin, make sure you have:
A compatible replacement cartridge (check your printer model)
A clean cloth or paper towel (in case of spills)
Your printer’s instruction manual (optional but helpful)
📝 Step-by-Step Guide: How to Insert an Ink Cartridge
✅ Step 1: Turn On the Printer
Make sure the printer is powered on. This allows the ink carriage (the part that holds the cartridges) to move into the right position for replacement.
✅ Step 2: Open the Printer Cover or Access Panel
Most inkjet printers have a top lid or front panel that opens to reveal the ink cartridge area. Wait a few seconds for the ink carriage to slide into view.
✅ Step 3: Remove the Old Cartridge
Gently press the tab or lift the latch holding the cartridge in place. Pull the cartridge out carefully and set it aside for recycling or disposal.
✅ Step 4: Prepare the New Cartridge
Unbox your new cartridge and remove any protective tape, plastic wrap, or seals. Be sure not to touch the gold or copper contact points to avoid damaging the cartridge.
✅ Step 5: Install the New Cartridge
Insert the new cartridge into the correct slot. Most printers have color-coded slots or labels to help you place each cartridge correctly. Push it in gently until it clicks into place.
✅ Step 6: Close the Printer Cover
Once the cartridge is securely installed, close the lid or panel. The printer will often do a quick initialization, which may take a minute or two.
✅ Step 7: Align the Cartridge (Optional)
Some printers may ask if you want to align the new cartridge. This process helps improve print quality. You can follow on-screen instructions to complete it.
✅ Step 8: Print a Test Page
To make sure everything is working, print a test page or document. This will confirm that the new cartridge is functioning properly and that the ink flow is smooth.
🧼 Pro Tips for Smooth Installation
Always use genuine or high-quality compatible cartridges.
Store ink cartridges in a cool, dry place away from sunlight.
Avoid removing cartridges unnecessarily; this can dry out the ink.
Keep your hands clean and avoid touching ink nozzles or contacts.
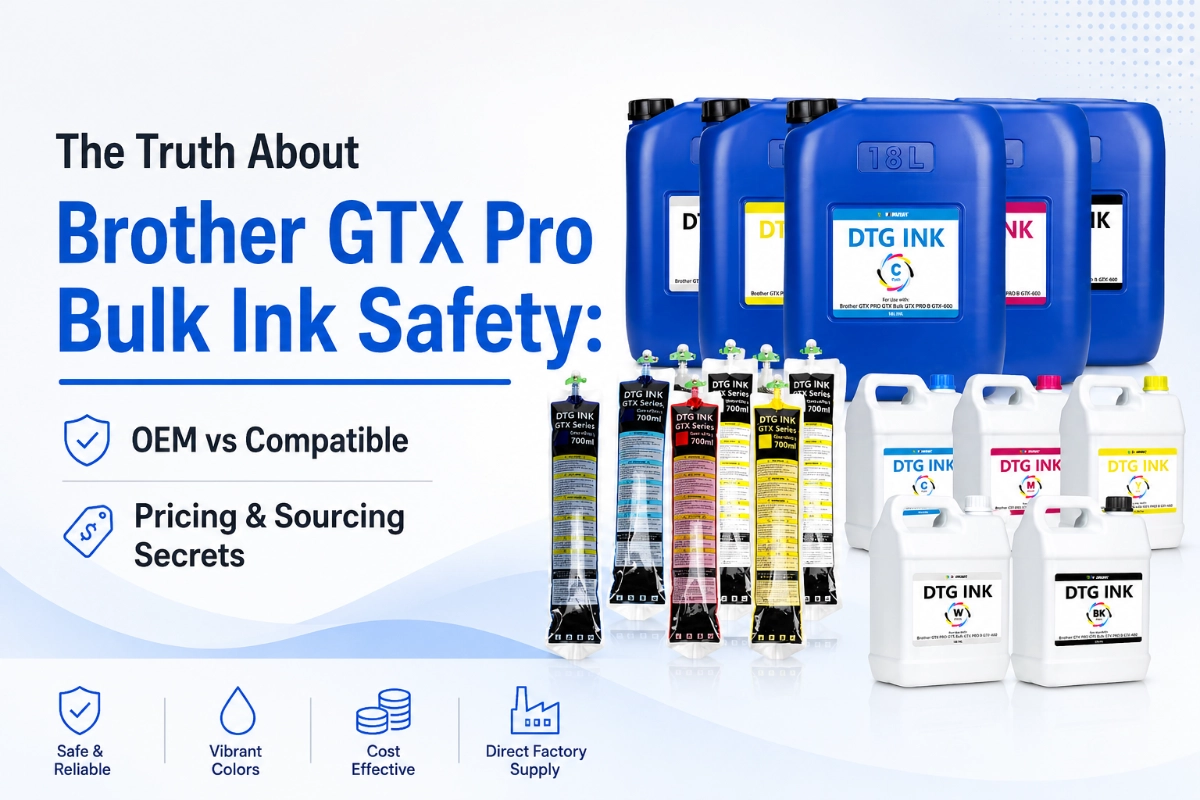
🛒 Where to Buy Quality Ink Cartridges
If you’re looking for affordable, reliable ink for your home or business printer, check out Winnerjet. We offer a wide selection of printer cartridges, including DTF, sublimation, pigment, and eco-solvent inks—perfect for professionals who need consistent quality and cost-effective solutions.
Our inks are trusted by studios, print shops, and manufacturers around the world. We also support bulk orders and resellers.
In Summary
Replacing an ink cartridge is a simple task that anyone can learn. As long as you follow the steps carefully and handle the cartridges properly, you’ll have your printer running smoothly again in no time. Regularly changing your ink and maintaining your printer will help ensure long-term print quality.
❓Frequently Asked Questions (FAQs)
Can I replace the cartridge while the printer is off?
No. Most printers need to be turned on so the ink carriage can move into position for easy access.
What if I installed the cartridge in the wrong color slot?
Your printer may show an error or print incorrectly. Remove the cartridge and reinstall it in the correct slot.
My printer doesn't detect the new cartridge—what now?
Try removing the cartridge and reinstalling it. Make sure all protective tape is removed, and the cartridge is clicked into place.
How do I know which cartridge needs replacing?
Your printer may display an ink level warning or a message on the screen. You can also check ink levels in the printer software on your computer.
Do I have to replace all cartridges at the same time?
Not necessarily. You can replace just the cartridge that is empty, though some printers may require both black and color cartridges to be installed for it to work properly.