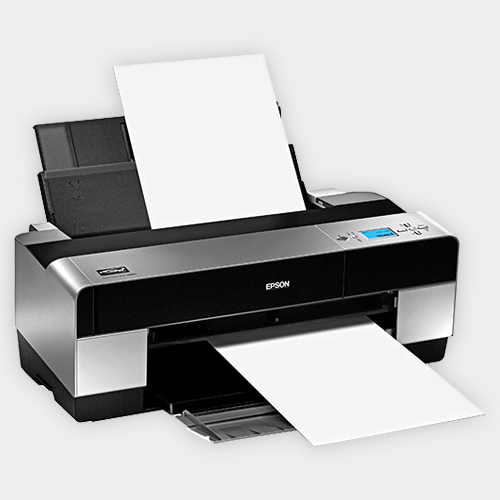
Is your Epson printer printing faded pages, missing colors, or lines through your text and images? Don’t worry—this usually means your printer head needs a good cleaning. The printhead is the part of your printer that sprays ink onto the paper. If it gets clogged, your prints won’t look right.
In this article, we’ll walk you through how to clean your Epson printer head easily, either using the built-in software or by doing it manually.

Why You Should Clean the Printhead
Over time, dried ink, dust, or air bubbles can block the nozzles that spray ink. This is especially common if you don’t use your printer often. When this happens, your printer may still have plenty of ink, but your prints look poor.
Signs Your Printhead Needs Cleaning:
Colors are missing or look faded
You see streaks or lines on your prints
Text or images look patchy
You recently changed ink but prints still look bad
How to Clean the Printhead Automatically
Most Epson printers come with a built-in cleaning feature that you can use from your computer.
On Windows:
Go to Control Panel > Devices and Printers
Right-click on your Epson printer and choose Printing Preferences
Click the Maintenance tab
Select Head Cleaning
Follow the steps shown on your screen
On Mac:
Go to System Preferences > Printers & Scanners
Choose your Epson printer
Click Options & Supplies > Utility
Click Open Printer Utility
Select Head Cleaning and follow the instructions
📝 Note: After cleaning, always run a Nozzle Check to see if the print quality has improved.
How to Clean the Printhead Manually
If automatic cleaning doesn’t help, you can try cleaning the printhead by hand. This is a bit more hands-on but can work well for deeper clogs.
⚠️ Only do this if you’re confident and careful—printers are delicate!
You’ll Need:
A soft, lint-free cloth or paper towel
Warm distilled water or special printer cleaning solution
A small syringe and rubber tubing (optional)
Steps:
Turn off and unplug the printer
Open the printer cover and find the printhead (where the ink cartridges sit)
Remove the ink cartridges carefully
Use the damp cloth to gently wipe the area where ink comes out
Let the printer dry for 10–15 minutes
Put the cartridges back in and turn on the printer
Run the Head Cleaning again from your computer
How to Avoid Printhead Clogs in the Future
Print something at least once a week
Always turn off the printer using its power button
Use good-quality ink that works with your Epson printer
Keep your printer in a clean, cool, and dry space
Final Thoughts
Cleaning your Epson printer head is easy and can save you from poor-quality prints or even expensive repairs. Try automatic cleaning first, and if that doesn’t work, carefully try cleaning it by hand. With just a little effort, your prints can look sharp and colorful again.


