Whether or not the curing process is handled correctly often determines if a DTG print is actually “deliverable.” In the real world, many small studios only have a flash dryer and lack a tunnel dryer. Under these conditions, can DTG ink really be cured properly? Let’s dive straight into the answers from a real-world production perspective.

“Dry” Doesn’t Mean “Cured”
A flash dryer can make the surface of DTG ink feel dry to the touch in a very short time. However, in most actual production scenarios, this does not mean the ink has achieved a stable, true “cure.”
When a print includes a white ink underbase, has a thick overall ink deposit, or is printed on heavy, dark fabrics, the heat often struggles to penetrate the entire ink structure evenly. The gap between a “dry surface” and an “uncured interior” becomes dangerously wide. In these cases, even if the garment looks fine coming off the machine, you are likely to see fading, cracking, or a brittle hand-feel after washing or wearing. Most of these quality issues are directly tied to insufficient curing.
How to Quickly Tell if Your Flash Dryer Actually Cured the Ink
Before you jump into mass production, you can use a simple “Reverse Heat Test” to determine if your DTG ink is properly cured. This helps you avoid post-wash fading, cracking, or brittleness. Here are the steps:
Step 1: Complete a Standard Cure
Follow your usual workflow and use the flash dryer to dry the surface of the print.
Step 2: Flip the Garment
Turn the garment inside out so that the back of the printed area is facing upward, preparing it for secondary heating.
Step 3: Perform Secondary Heating
Use a heat press or your flash dryer to heat the back of the print area for 5–8 seconds, maintaining your original production temperature.
Step 4: Observe the Ink Layer
If you see the surface softening, wrinkling, becoming slightly tacky (sticky), or the white ink edges shrinking:
👉 This means the interior of the ink layer is not fully cured.
If the print remains stable with no visible changes:
👉 The probability of a successful cure is high.
Step 5: Pay Attention to Ink Differences
Under flash dryer conditions, different DTG inks show significant differences in stability during secondary heating. Inks with a “wide curing window” and stable internal cross-linking structures are much more likely to pass this test. Even with limited equipment, these inks ensure better washability and a better hand-feel.
Why is it So Hard to Fully Cure DTG Ink with a Flash Dryer?
Many studios and small factories find that their prints look dry on the surface but fail during washing. This isn’t necessarily an operator error—it’s a limitation of the equipment design itself. Here are the key reasons why:
Heating Method Limitations — Surface Only
The Principle: Flash dryers are radiant, localized heating devices. The heat primarily hits the surface of the ink layer.
The Result: The surface dries rapidly, but the temperature at the bottom of the ink layer remains insufficient for the internal cross-linking to complete.
The Impact: Even if the surface feels dry, the uncured interior will lead to poor washfastness.
White Ink Requires High Curing Standards
Characteristics: White ink layers are thick and have high pigment density, making them extremely sensitive to temperature and time.
The Problem: A flash dryer easily hardens the “shell” of the white ink while the core stays wet.
The Consequence: During washing or wearing later on, the white ink may crack or peel off, ruining the quality of the garment.
Equipment Design Isn’t Meant for Full Curing
Purpose: Flash dryers are mainly designed to quickly “skin” ink or “gel” plastisol to set the shape of middle layers.
The Constraint: They are not designed to provide the long, uniform, deep-layer heating required for DTG.
Conclusion: Relying solely on a flash dryer to cure thick ink layers or white ink prints makes it very difficult to guarantee stability and reliability.
Flash Dryer vs Heat Press: Which is Better for DTG Curing?
Choosing between a flash dryer and a heat press depends on your specific production goals and energy efficiency needs.
Quick Comparison
↔ Swipe left/right to view more
| Feature | Flash Dryer | Heat Press |
|---|---|---|
| Method | Non-contact (Radiant) | Contact (Pressure) |
| Speed | Faster for high-volume | Slower (Manual clamping) |
| Finish | Natural fabric texture | Smooth, retail finish |
| Best For | Continuous batch workflow | Small or one-off orders |
Efficiency & Energy Savings
For energy-efficient DTG ink curing, a flash dryer excels in continuous production by maintaining a stable heat zone. A heat press, while slower, is better at retaining heat for intermittent jobs.
When Can You “Get Away” with Using a Flash Dryer?
While a flash dryer is generally not ideal for a full DTG cure, there are certain limited production environments where it can be “barely acceptable” while maintaining a degree of quality. Here are the scenarios with the highest success rates:
- Small Prints and Low Ink Loads: For small-area prints or thin ink layers, heat penetrates more evenly, reducing the risk of uncured interiors. These prints tend to be more stable after flash drying.
- CMYK Only (No Thick White Ink): White ink is the hardest to cure. If your design only uses CMYK and skips the heavy white underbase, the flash dryer is much more likely to achieve a stable cure.
- Paired with Secondary Heat Pressing or Extended Dwell Time: Using a heat press after flashing, or appropriately extending the heating time, can help compensate for the flash dryer’s lack of bottom-layer heat. This improves the internal cross-linking and reduces the risk of fading or cracking.
- Small Batches or Low Wash-Durability Requirements: For one-off small orders or prints where long-term durability isn’t the priority, a flash dryer can serve as a temporary solution to meet basic needs.
⚠️ Note: Even if you meet these conditions, I strongly recommend performing a wash test before mass production. Don’t judge the cure based on hand-feel or surface dryness alone.
Common Misconceptions When Using a Flash Dryer
In actual production, many printing issues aren’t caused by equipment failure, but by incorrect judgment. Many beginners and small shops assume that if the ink isn’t sticky, it’s cured. However, surface dryness is just the result of water evaporation; it doesn’t guarantee that the chemical cross-linking is complete.
Another common mistake is only focusing on the immediate look and ignoring how it performs after washing. Curing sufficiency should always be verified through wash tests. Overlooking this leads to underestimating internal curing issues, resulting in cracked or brittle prints later.
Additionally, fabric thickness and cotton content significantly impact curing. Thick fabrics or high-cotton garments act as a “heat sink,” making it harder for heat to reach the bottom of the ink layer. Different fabrics require different conditions, so surface dryness is a poor metric for quality.
Finally, don’t ignore the “curing window” of the DTG ink itself. Different brands and formulas react differently to heat. If you don’t account for these characteristics, you’ll run into issues even if your operation seems “correct.” Remember: “Dry” does not equal “Cured.”
Process Stability Comparison and Ink Recommendations
From a stability standpoint, different curing methods have a clear impact on the final quality of DTG prints. Using only a flash dryer offers low stability and makes it hard to guarantee the washability of thick or white-ink designs; therefore, it’s not recommended for mass production.
If you can’t upgrade your equipment yet, you can use a “Flash + Heat Press” combo. This offers medium stability and works as a transitionary method, though wash tests are still mandatory. In contrast, a tunnel dryer provides long-term, uniform heating and is the industry-recognized standard for high stability.
| Curing Method | Stability | Production Advice |
|---|---|---|
| Flash Dryer Only | ❌ Low | Not recommended for mass production |
| Flash + Heat Press | ⚠️ Medium | Acceptable for transitionary use |
| Tunnel Dryer | ✅ High | The industry standard |
Ink Choice Tip: If your equipment is limited, choosing the right ink is critical. Prioritize inks with a wide curing window and stable internal cross-linking. These inks are more forgiving and maintain better washability and hand-feel even under less-than-ideal curing conditions.
How to Choose DTG Ink if You Only Have a Flash Dryer
When your hardware is limited to a flash dryer, your ink choice becomes your safety net. Look for inks with the following features: a wide curing window, high tolerance for temperature fluctuations, stable post-wash adhesion, and a white ink formula that doesn’t just “skin over.”
These types of inks, when paired with auxiliary steps like secondary heat pressing, have a much lower failure rate. Even with thick layers, they remain more stable.
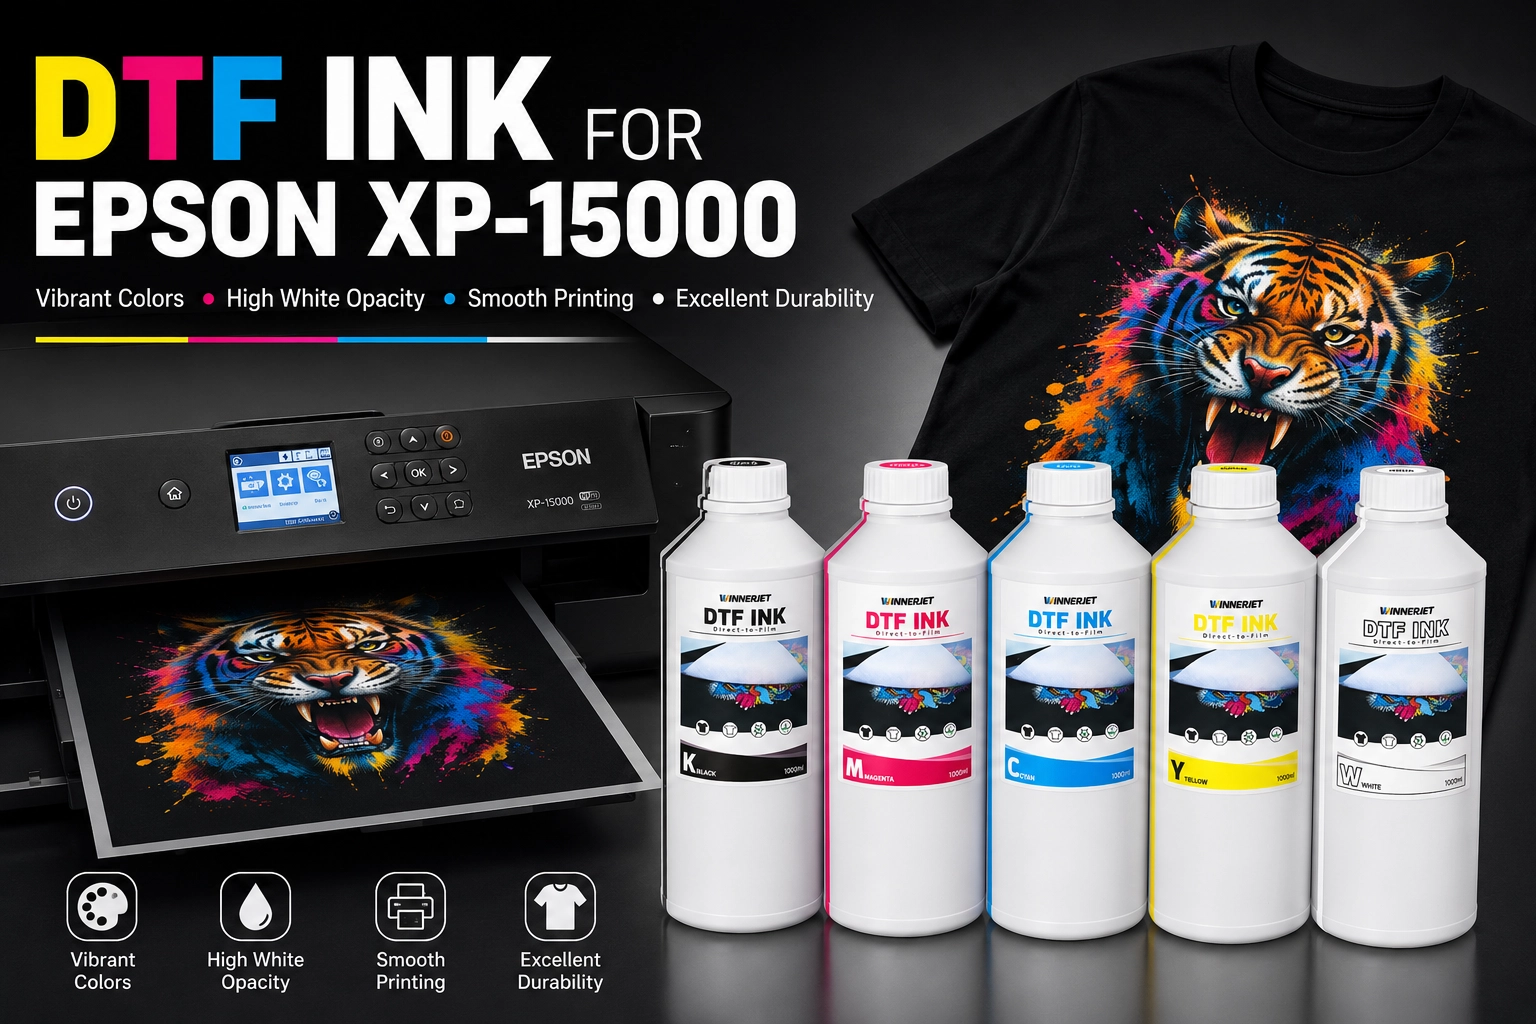
If your production requires high wash-fastness, don’t just crank up the heat or blast it longer—that often just scorches the surface. A smarter move is to pick an “equipment-friendly” ink and run small-batch tests. For instance, Winnerjet’s GTX/DTG compatible ink series offers a wide curing window and stable cross-linking, making it a great fit for studios and small shops using flash dryers. Testing these first will ensure your prints survive the wash and avoid the “dry on top, wet underneath” trap.
Practical Production Advice
If you’re currently working with only a flash dryer, use these tips to lower your risk:
- First, avoid printing large, solid blocks of heavy white ink all at once.
- Second, you can slightly extend heating times, but monitor the surface temperature closely to avoid scorching or ruining the hand-feel.
- Third, always consider a secondary heat press step to help the bottom layers cross-link.
- Finally, stick to one stable ink brand. Don’t constantly mix different formulas, so you can keep your curing results consistent.
Ultimately, many “wash issues” aren’t about the machine—they are about a mismatch between the ink and the curing method. Understanding this and adjusting your workflow to your ink’s specific traits is the best way to ensure quality.
Quick Guide: Recommended Settings for Curing DTG Ink with a Flash Dryer
If you are using a flash dryer instead of a heat press, precision is vital to ensure the ink bonds perfectly with the fabric without scorching the garment. Here are the professional settings we recommend for Winnerjet DTG inks:
⚡ Flash Dryer Curing Parameters
- 🌡️ Temperature: 160°C - 165°C (320°F - 330°F)
- ⏱️ Curing Time: 2-3 Minutes (depending on ink density)
- 📏 Distance: 2-3 Inches (5-7 cm) from the garment
- ✅ Goal: Dry to the touch and passes the stretch test
*Note: Settings may vary based on your local humidity and flash dryer power. Always perform a wash test before bulk production.
Regardless of the equipment you use, the secret to perfect curing lies in high-quality ink. Our specially formulated ink features:
Fast Curing: Reacts faster to heat sources, saving time and electricity.
High Durability: Passes over 50 water wash tests without peeling.
Vibrant Colors: Maintains color saturation even with non-contact flash drying.
FQA
DTG Ink Curing Tips
Flash dryers are faster for high-volume production and preserve fabric texture. Heat presses provide a smoother, retail finish. Both work perfectly with Winnerjet inks if the temperature is correct.
Will flash drying cause the ink to peel?
Only if the ink doesn’t reach 160°C (320°F). Ensure the entire design is heated evenly for 2-3 minutes to prevent peeling and ensure a strong bond.
How do I know if the ink is fully cured?
Use the “Stretch Test.” Gently stretch the print once cooled; if it cracks or feels sticky, it needs more heat. A cured print should be dry and flexible.
Can I use a flash dryer for DTF as well?
Yes! It is a versatile tool. You can use it to cure DTG ink directly on shirts or to melt TPU powder on DTF films before the final press.
What is the most common flash drying mistake?
Uneven heating. Always check the edges of your design with an infrared thermometer to ensure the whole print reaches the target temperature, preventing partial fading.