UV DTF (Direct-to-Film) transfer printing is a game-changer for customizing hard surfaces like cups, bottles, phone cases, and more. It’s a fast-growing method in the printing industry because it doesn’t require heat or pressure—just print, peel, and stick.
In this guide, we’ll show you step-by-step how to make UV DTF transfers, what materials you need, and share some tips to get better results.
✅ What You Need for UV DTF Transfer Printing
Before you start, gather the following items:
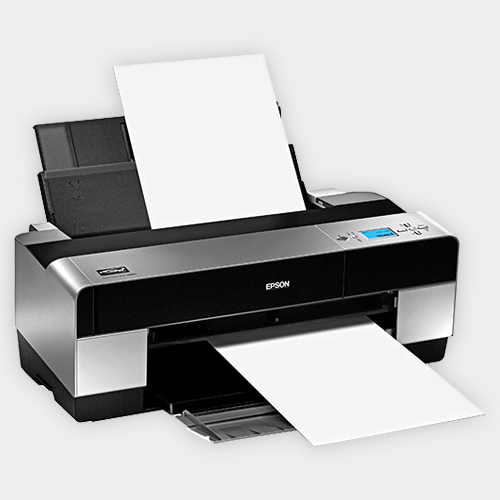
- UV DTF Printer: A specialized printer that uses UV-curable ink.
- UV DTF Ink: Special ink that dries quickly under UV light.
- UV DTF A & B Film: The printing film (A) and adhesive film (B).
- UV Lamp or Built-in UV LED Light: To cure the ink immediately after printing.
- Laminator or Pressure Roller: To apply the adhesive layer.
- Flat and Clean Surface: Such as glass, plastic, wood, or metal.

🔧 Step-by-Step: How to Print UV DTF Transfers
Step 1: Design Your Artwork
Use graphic software like Adobe Illustrator or Photoshop to create or import your design. Make sure the size fits your target item.
Step 2: Print on A Film
Load your A film into the UV DTF printer and print the design in the following order:
- Color Layer
- White Ink Layer
- Glossy or Varnish Layer (optional)
These layers help the print stay vibrant and long-lasting.
Step 3: Cure with UV Light
As the printer works, the built-in UV light cures the ink right away, making it dry and durable.
Step 4: Apply B Film (Adhesive)
Place the B film over the printed A film. Use a laminator or roller to press them together evenly.
Let it sit for a few seconds, then peel off the A film gently. The design will now be on the B film with sticky backing.
Step 5: Stick to Your Surface
Align the printed film with your target surface and press it down firmly. Slowly peel off the B film, and the design will stay on your item—no heat press needed!

💡 Tips for Better Results
- Use high-resolution images for clear and sharp prints.
- Keep your surface clean before applying the sticker.
- Don’t rush the peeling process—take it slow to avoid wrinkles or bubbles.
- Store unused UV DTF films in a dry, cool place to prevent them from losing stickiness.
📦 Why Businesses Choose UV DTF
UV DTF is popular among small businesses and custom product sellers because:
- It works on hard, curved, and uneven surfaces.
- No heat press is required.
- The process is fast and beginner-friendly.
- It produces vibrant, waterproof, and scratch-resistant results.

🚀 Print with Confidence Using Winnerjet UV DTF Solutions
Looking for reliable UV DTF ink, films, and printers? Winnerjet provides professional-grade printing supplies trusted by thousands of small businesses worldwide. Our UV DTF materials are known for:
- Smooth printing performance
- Strong adhesive power
- High-definition output
🎯 Start Printing UV DTF Transfers with Ease
Now that you know how UV DTF printing works, it’s time to try it yourself. Whether you’re customizing mugs or selling personalized phone cases, UV DTF gives you a fast and simple way to stand out.
👉 Need help choosing the right UV DTF supplies? [Contact Winnerjet for a free sample or quote today!]
✅ FAQs About UV DTF Transfer Printing
Can I use UV DTF on fabric?
No. UV DTF is made for hard surfaces like glass, plastic, or metal—not fabrics.
Do I need a special printer?
Yes. You need a UV DTF printer that supports UV ink and has a curing light.
What’s the difference between UV DTF and regular DTF?
Regular DTF is for fabric printing and needs heat. UV DTF is for hard surfaces and uses UV light instead of heat.
Is UV DTF waterproof?
Yes, once applied correctly, it is waterproof and scratch-resistant.
How long does a UV DTF sticker last?
With proper application, it can last for months or even years without fading.